The Webflow Editor - how your customers edit their website

The Webflow Editor is a powerful tool that allows users to manage and update the content on their Webflow website without affecting the design. With the editor, customers can easily make changes to their website on their own, without the need for a Webflow Designer. This gives them the freedom to update their website as needed, without having to rely on a designer to make changes for them. The Webflow Editor is a valuable tool for anyone using Webflow, as it gives them the ability to make updates and changes to their website quickly and easily.
What makes the Webflow Editor so powerful?
As a website designer, you are often called upon to make small changes and updates to your clients' websites. While these tasks may seem minor, they can take up a significant amount of your time and energy. What if your clients could make these changes themselves, without affecting the design of their website?
Webflow offers a solution with its visual editor, which allows for on-page editing. Your clients can make changes directly on their website, and see the results in real time. They can also preview their changes before publishing them, so they can be sure that the final result is exactly what they want.
With the Webflow visual editor, your clients can take control of their website and make the changes they need, while you can focus on more important tasks. It's a win-win situation for both you and your clients.
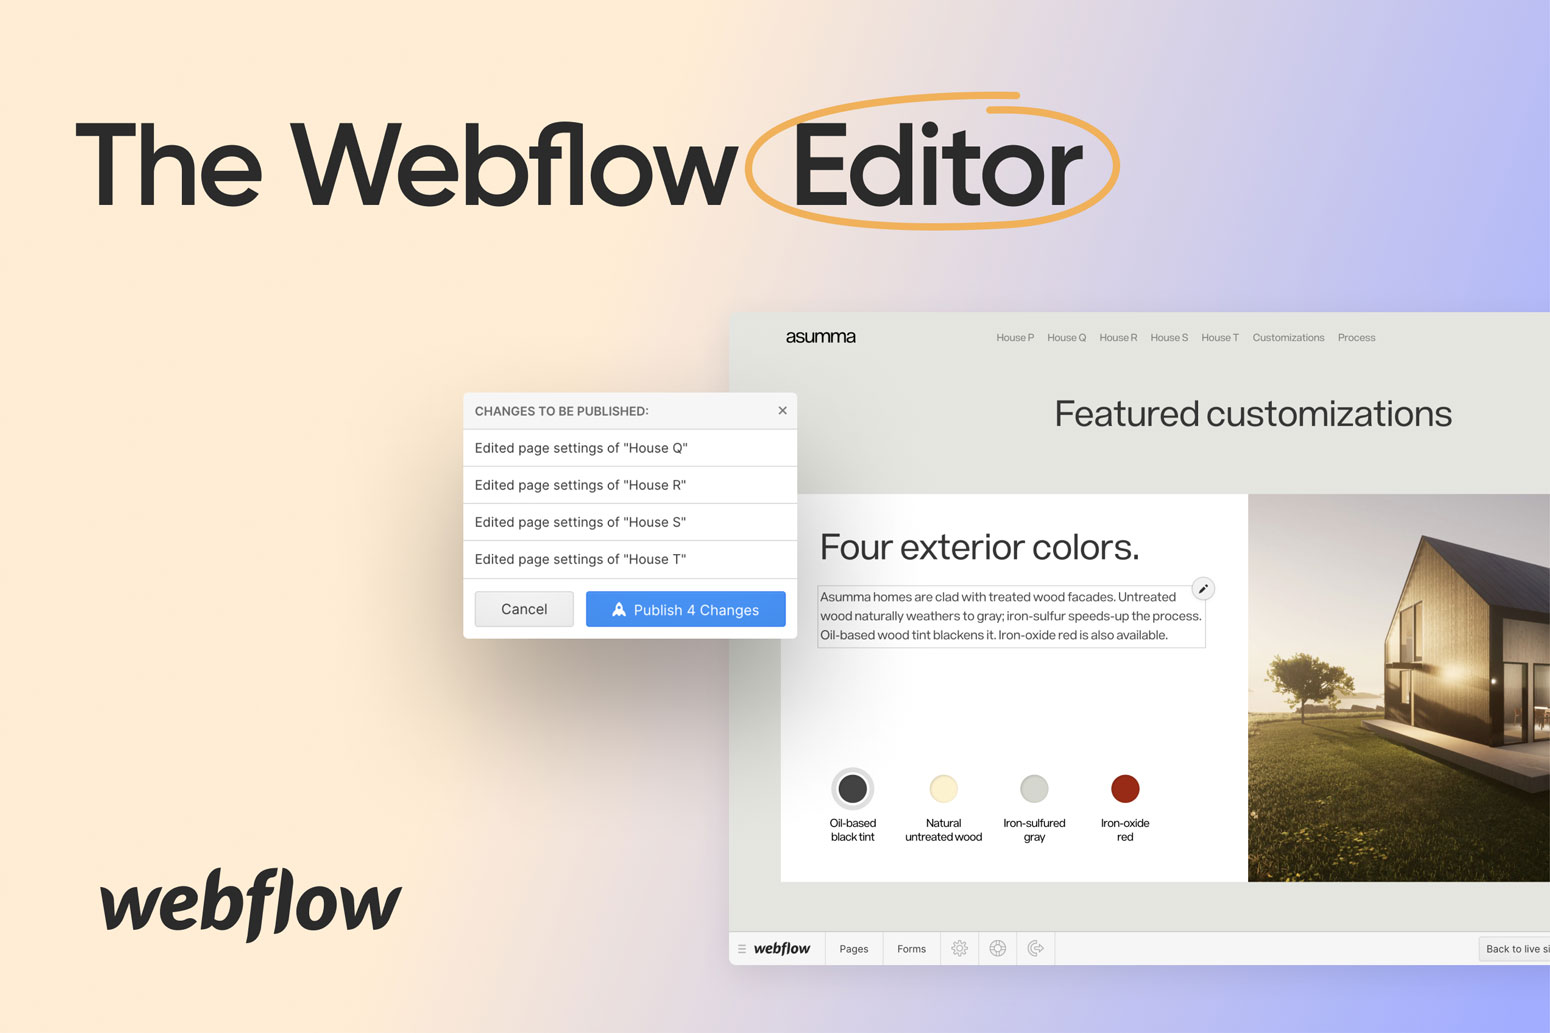
The Webflow Editor allows for multiple users to make changes to a website at the same time. If two users are working on the same content element simultaneously, the changes made by the user who saves or confirms their changes last will be the ones that are kept. It is important for users to coordinate and agree on which tasks each person will take on to avoid conflicts or overridden changes. This ensures that the website is updated effectively and efficiently, even when multiple users are working in the editor simultaneously.
How to use the Webflow Editor?
The Webflow Editor is designed to be user-friendly and intuitive, making it easy for your customers to manage and modify the content on their website. When a user moves their mouse pointer over an element on the website that can be changed, a box will appear around the element and an edit icon will be visible on the right edge. This clear and simple interface makes it easy for users to identify which elements can be modified, and allows them to make changes with ease. With the Webflow Editor, managing and updating a website has never been easier.
In Webflow Editor your customer can insert and change images
To change an image in the Webflow Editor, follow these steps:
- Open the Webflow Editor and navigate to the page where the image is located.
- Hover your mouse over the image, and you will see a box appear around it with an edit icon on the right side.
- Click on the edit icon, or click on the image itself to select it.
- In the toolbar that appears, click on the "Replace" button to choose a new image from your computer or from the Webflow Asset Manager.
- Select the image you want to use, and click "Open" to upload it.
- The new image will be displayed on the page.
- When you are finished making changes, click the "Save" button to apply your changes and publish them to the live website.
Your client can write and modify texts in the Webflow Editor
When your customer moves their mouse pointer over a text element that can be edited on the website, a grey box will appear around the element with an edit icon. If they click on the box, they can make changes to the text, such as adding new text, making it bold or italicized, or adding links. This makes it easy for your customers to make updates to their website without affecting the design, and allows them to make the changes they need quickly and easily.
In the case of Rich Text Elements, your customer has even more options for updating and modifying their website. They can add media content, create lists, format the text, and much more. This allows them to fully customize the content on their website to meet their specific needs and goals.
In Webflow Editor your customer can change buttons and links
In the Webflow Editor, your customers can easily change buttons and links on their website. To do this, they can follow these steps:
- Open the Webflow Editor and navigate to the page where the button or link is located.
- Hover your mouse over the button or link, and you will see a box appear around it with an edit icon on the right side. This icon is a gear wheel.
- Click on the edit icon, or click on the button or link itself to select it.
- In the toolbar that appears, your customer can click on the "Edit" button to change the text displayed on the button. They can also click on the "Link" button to change the link that the button leads to.
- When your customer has made the desired changes, they can click the "Save" button to apply their changes and publish them to the live website.
In Webflow Editor your customer can change and add CMS content
In the Webflow Editor, your customers can easily change and add CMS content to their website. If you have created a blog or other page with dynamic content for your customer, they can update the content and add new posts by following these steps:
- Open the Webflow Editor and click on "Collections" or "Blog Posts" at the bottom of the screen.
- A list of all the blog posts will appear, which your customer can edit as desired. They can change the content, add new information, or delete existing posts.
- Your customer can also create and publish a new blog post by clicking on the "New Blog Post" button. This will open a new page where they can design and publish their post.
In Webflow Editor your client can change SEO settings and descriptions
Here are the following steps To do this:
- Open the Webflow Editor and navigate to the Pages tab in the Editor panel at the bottom of the screen.
- In the list of pages, your customer can select the page whose metadata they want to edit.
- Once the page is selected, they can click on the "Settings" button to access the page's metadata.
- In the metadata panel, your customer can add a page title and description, as well as any other metadata they wish to include.
- When they are finished making changes, they can click the "Save" button to apply their changes and publish them to the live website.
In Webflow Editor your customer can view form data
If your client's project includes forms, they can manage and view the form data in the Webflow Editor. The Forms tab in the Editor panel allows your client to access basic information about the forms on their website, and download the full form data as a CSV file.
To view and download form data in the Webflow Editor, your client can follow these steps:
- Open the Webflow Editor and navigate to the Forms tab in the Editor panel.
- A list of the forms on their website will be displayed, along with some basic information such as the form name, number of submissions, and date of the last submission.
- To view more detailed information about a form, your client can click on the form's name in the list. This will open a panel with a summary of the form data, including the fields and responses for each submission.
- Your client can also download the full form data as a CSV file by clicking the "Export" button. This will generate a file that can be opened in a spreadsheet program such as Excel or Google Sheets.
With the Forms tab in the Webflow Editor, your client has the ability to view and manage the form data on their website, making it easy to track and analyze the responses they receive.
In the Webflow editor your customer can only change what you want
By default, your customers can use the Webflow Editor to make changes to the entire content of their live website. However, you have the option to set certain elements as uneditable, so your customers are unable to modify them.
To specify which elements your customers are not allowed to edit in the Webflow Editor, you can follow these steps:
- Open the project in the Designer.
- Select the element that should not be editable.
- In the settings panel, deactivate the option "Collaborators can edit this element".
With this setting, you can control which elements on the website your customers are able to modify, ensuring that the overall design and structure of the site remains consistent. This can be useful if you want to protect certain elements of the website from accidental changes or maintain control over certain aspects of the site.
What is not possible in the Webflow Editor?
Your customer is able to make changes to the content of their website, but they cannot make changes to the design, structure, or layout. To make changes to these aspects of the website, your customer would need to log into the Webflow Designer.
This is a useful feature, as it allows you to protect the design and structure of the website from accidental changes by your customer. By restricting access to the Designer, you can ensure that the website remains consistent and professional, and that any changes to the design or layout are made intentionally and with purpose.
What are the disadvantages of the Webflow Editor?
There are a few potential disadvantages to using the Webflow Editor:
- Limited design and layout control: As mentioned earlier, the Webflow Editor only allows users to make changes to the content of the website, and does not allow them to make changes to the design, structure, or layout. This means that users who want to make more significant changes to their website will need to use the Webflow Designer.
- Limited technical capabilities: The Webflow Editor is primarily designed for content management, and does not offer the same level of technical capabilities as the Webflow Designer. This means that users may not be able to perform more advanced tasks or customizations using the Editor.
- Limited access to code: The Webflow Editor does not provide access to the underlying HTML, CSS, or JavaScript code of the website. This can be a limitation for users who want to make more advanced customizations or make changes to the code directly.
GridHacker tip: Create a video for the handover
As a website designer, it can be helpful to provide your clients with a video tutorial showing them how to edit their website using the Webflow Editor. This can be especially useful when you are handing over the final version of the website, as it will give your clients the knowledge and confidence they need to make changes to their site on their own.
To create a tutorial video, you can follow these steps:
- Record a video of yourself demonstrating how to use the Webflow Editor to make changes to the website. You can focus on specific tasks or features that you think will be most useful for your client.
- Make sure to speak clearly and provide step-by-step instructions as you go through the process.
- When you are finished, save the video and share it with your client.
By providing a tutorial video, you can offer your clients an extra level of support and help them feel more comfortable and confident when it comes to managing their website. This can be a valuable service that your clients will appreciate, and it can help to build trust and strengthen your professional relationship with them.
A tool that I can recommend for the videos is Loom it is very easy to use and can be tested at the beginning for free.


Thefuturehits Webflow.
Scale your work and grow your business with powerful automation in Webflow.

